2005 Volkswagen Passat Wagon
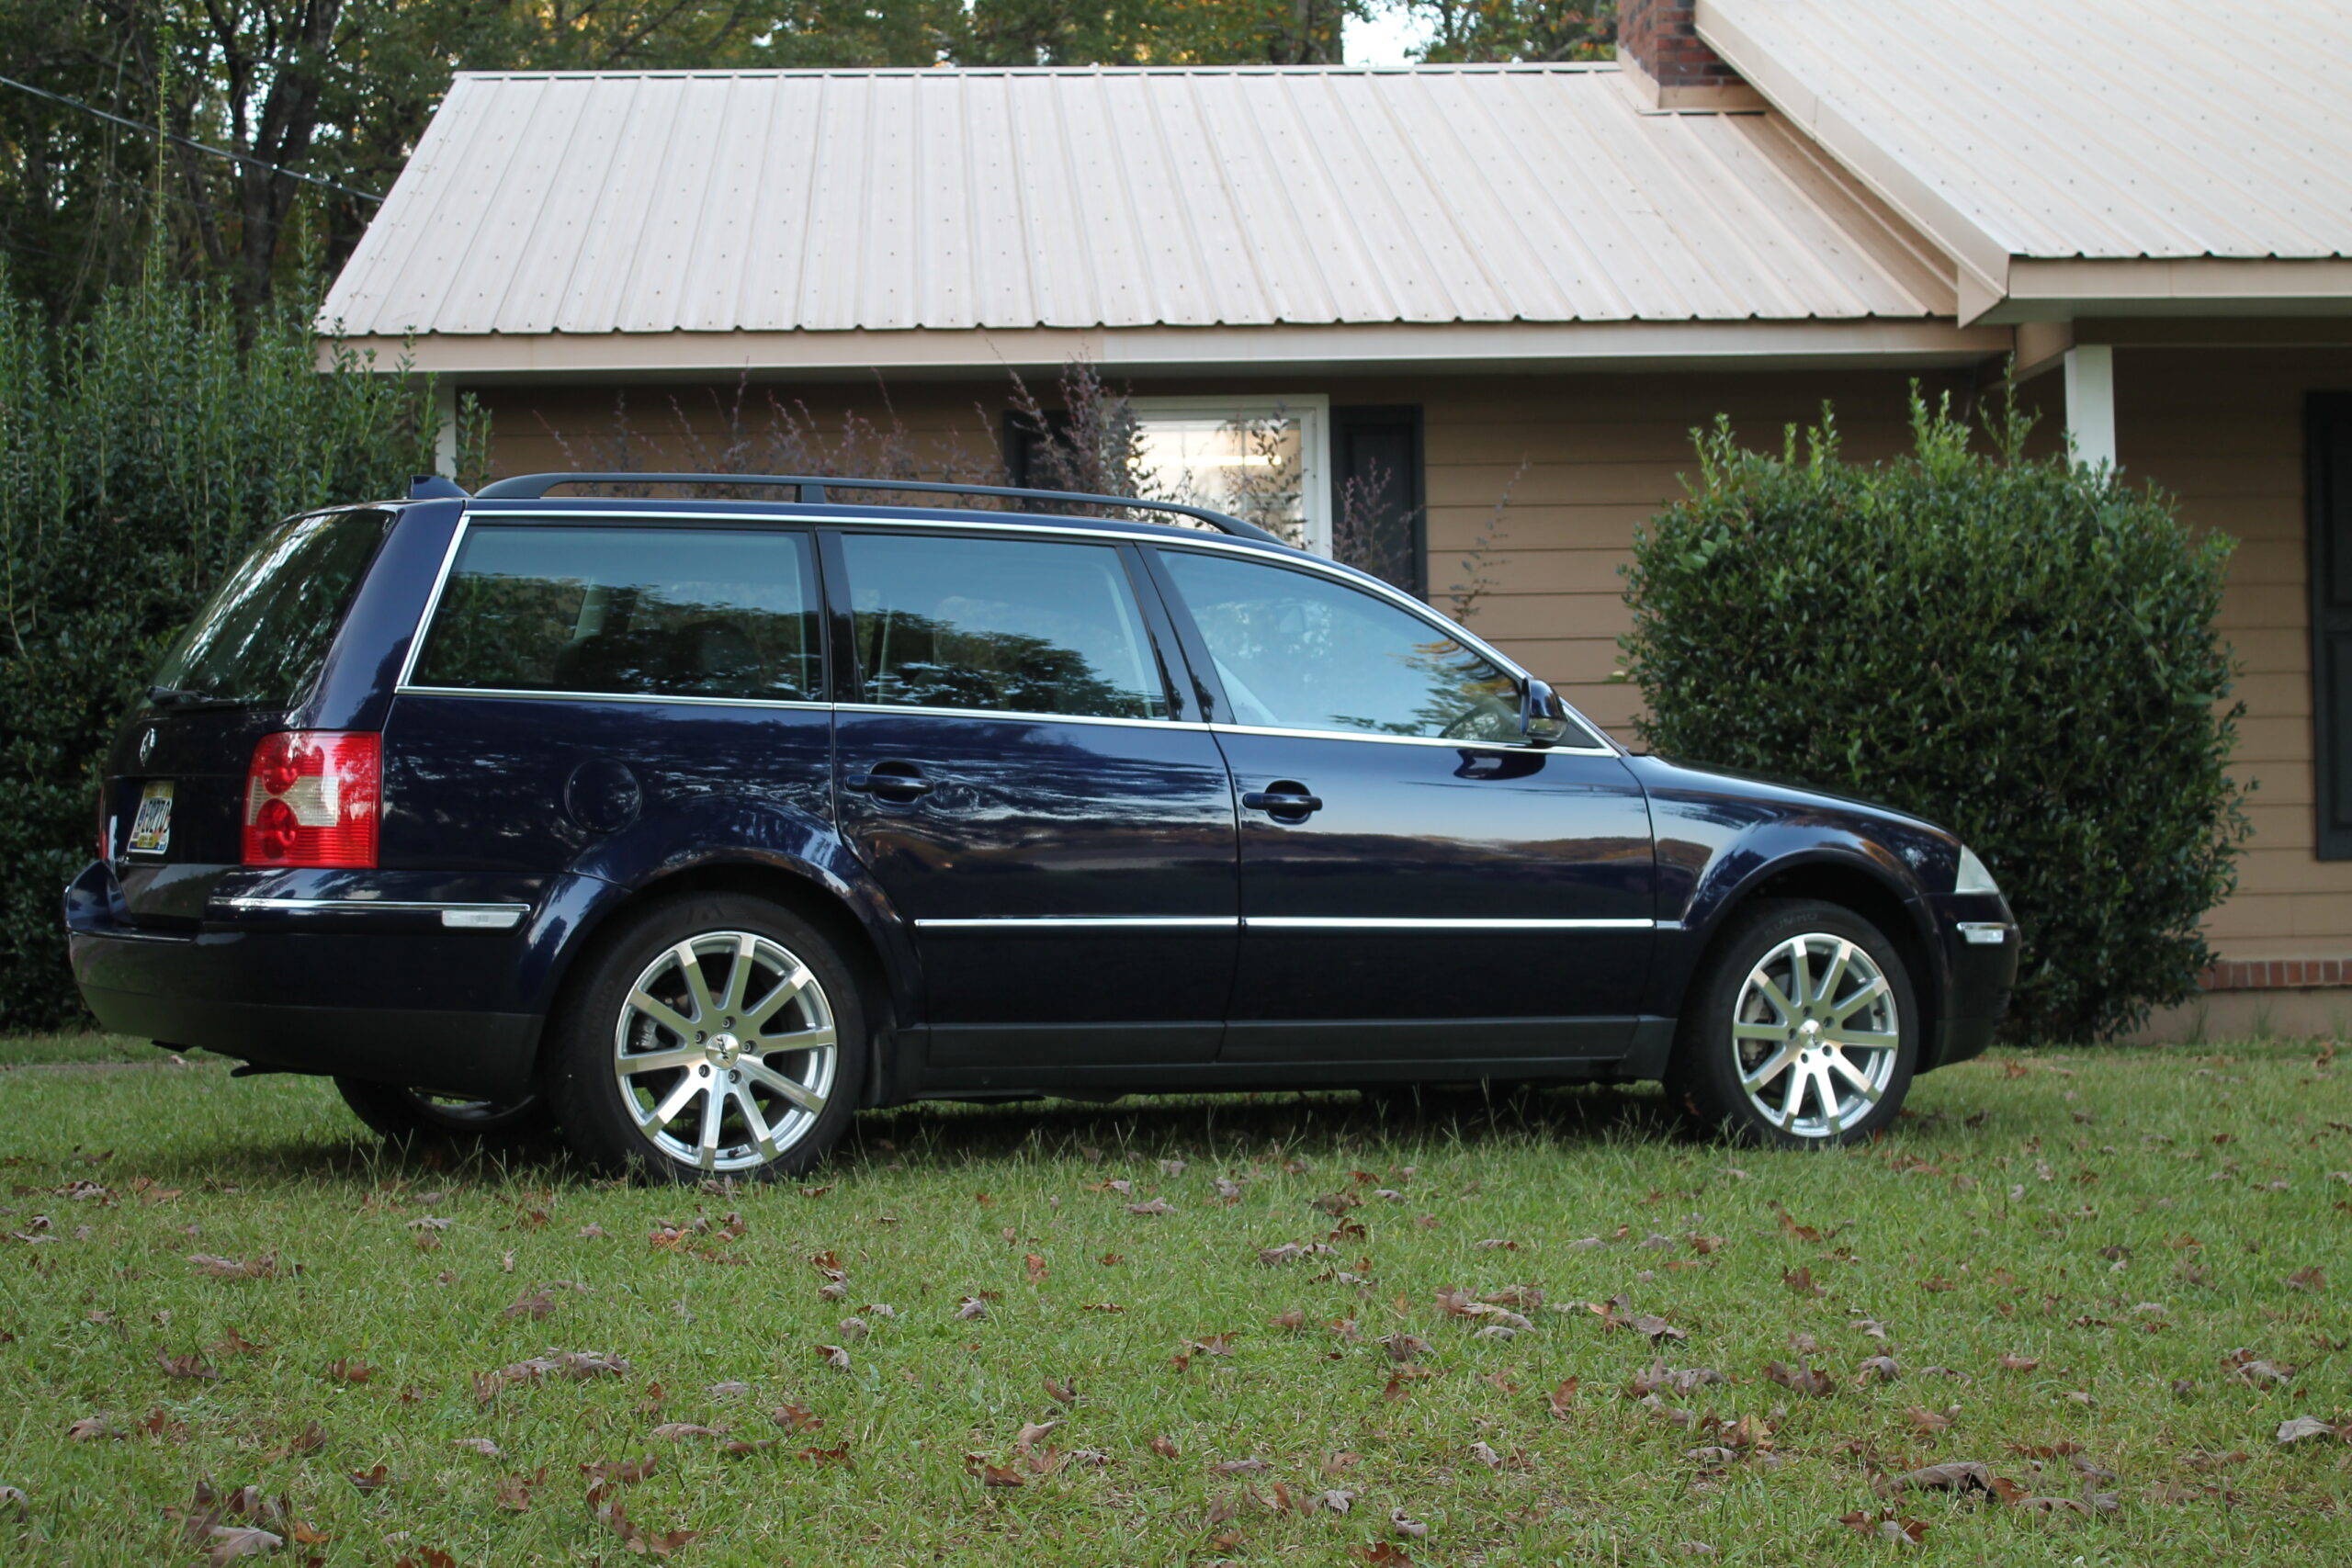
First Look
I recently purchased this vehicle with the full knowledge that it had a suspected leaking head gasket. It still ran and drove so I knew that the motor was not completely gone and I could hopefully save it.
On the first startup, it ran a little rough, but I cleared all the faults, which it had only five faults total – a No.2 cylinder misfire and some other miscellaneous faults. The rough idle cleared up and the engine idled smoothly.
The engine has 200 thousand plus miles, so an engine overhaul would be a good idea regardless – to give this car some new life. It will also be a good opportunity to catch any other potential problems before they become serious and open up the engine bay for a complete inspection and a thorough cleaning.
Walk Around


Initially, the car seemed to be in good shape for a 2005 year model, but the major issue is that the head gasket is leaking or blown, so going into this project, I know that I have a lot of work ahead me.
The other major/minor issues that I noticed right away are the passenger side rear door has some damage to the lower panel from what looks like careless driving, and both front seats have issues with the stitching across the seat pad. I am not sure if this is a common problem with the GLS model with leather seat skins or just normal fatigue.
It also looks like it has been sitting for a while or it was just severely neglected. There is a lot of dirt and debris built up behind the inner fender splash guards and the trim that runs along the top of the windows. The clear coat is beginning to peel, so that is another issue that needs attention.
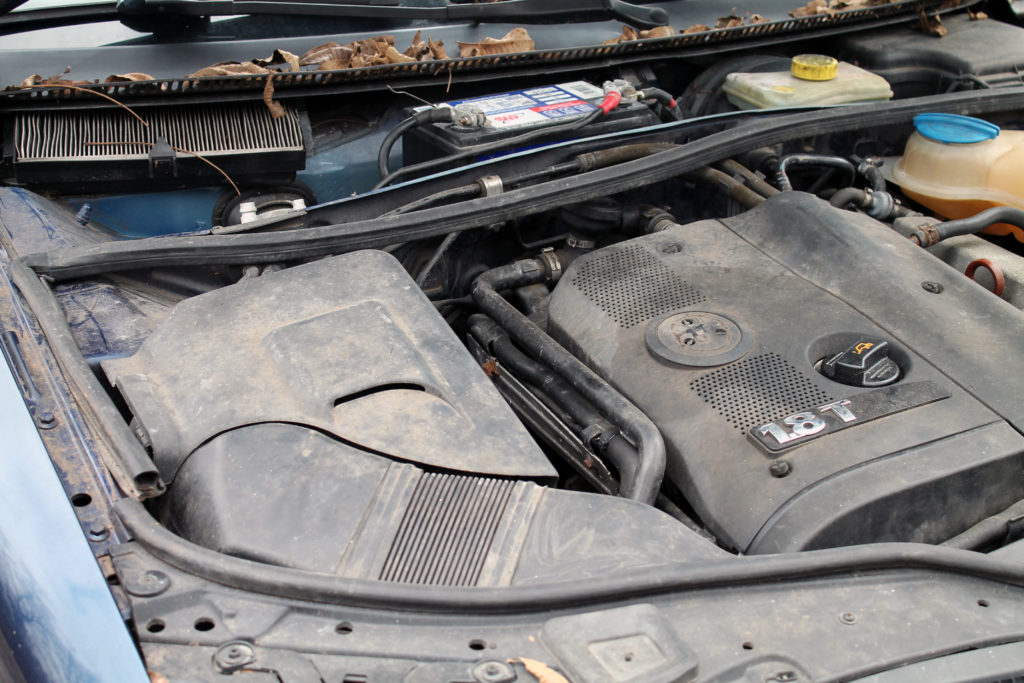
I’m not sure the level of care or attention that the previous owner had in regards to maintaining this vehicle, but from what I found during my initial inspection, it was probably the bare minimum besides the obvious damage from careless driving and the overall condition from a proper washing and waxing. There is the question of the current state of the engine.
From a quick glance, you can see that it is dirty and has probably not seen any cleaning agent in a long time. A clear indication of this would be that the aluminum has begun to oxidize. And I don’t know what is going on with the battery. It seems to be just a random battery that doesn’t fit correctly and looks out of place.


Findings
Before beginning the massive task of removing the engine and disassembling and rebuilding it, I wanted first to find out what caused the suspected head gasket leak in the first place.
I started the engine and let it idle until the engine reached the normal operating temperature. Finally, after about 30 minutes, the temperature gauge crept past the normal limit. I could see steam coming from the expansion tank, and I could hear a hissing sound coming from the back of the engine as well as steam.
I did not see any obvious leaks, but I don’t believe there was enough coolant in the system to cause a leak and there were no previous visual signs that coolant had leaked onto the engine. However; I did find one major problem and another possible major/minor problem. The auxiliary cooling fan never kicked on. So this is a serious problem and was probably the reason why the engine overheated in the first place which probably led to the failure of the head gasket, but that is still to be determined once the engine is out and disassembled.
The other problem I noticed was the expansion tank cap was not fully seated closed. But this could have been caused by the engine overheating to the point of having nowhere to go, and it blew the cap, or the operator did not correctly install it.

I removed the expansion tank and found a lot of trash that came out when I emptied it as well as signs of tiny metallic particles. The debris looked like paper, so I am not sure if this was from someone trying to use stop leak to fix the overheating problem instead of properly troubleshooting it or if it is part of the head gasket which might explain the metallic particles.
Compression Check
After pulling the sparks plugs to perform a compression check – just out of curiosity to see how far this head gasket might be gone I noticed that the No.1 and No.2 plugs were wet with oil, so that might explain the No.2 misfire.
- No.1 Cylinder – 150 PSI
- No.2 Cylinder – 120 PSI
- No.3 Cylinder – 160 PSI
- No.4 Cylinder – 170 PSI
So, apparently there is a problem with the No.2 cylinder.
1.8t Engine Removal Part 1


Before I could remove the engine, I had to clear the way which meant removing the radiator support panel. Per the repair manual, it does require a lock carrier support tool, specific to Volkswagen. This tool will allow you to put the radiator into the service position. You can purchase one online for around twenty dollars, or if you have the time, fabricate one. It will allow the assembly to be supported and aid in removing the assembly.
To gain access to the radiator support panel, remove the grill and bumper cover. Unbolt the bumper and bumper supports. Next, it is just a matter of disconnecting all of the cooling, air conditioning, transmission, and electrical connections going to the assembly. Use caution when disconnecting and removing the assembly. Make sure to drain the coolant and recover the freon.
After everything is disconnected, remove the radiator support assembly. I was impressed with the design and how it detached as one piece instead of having to remove everything individually — and having the tool did help out a lot. I did not have to hold the assembly while disconnecting the lines. I was also surprised at how much room it gave me to the engine bay and engine accessories.

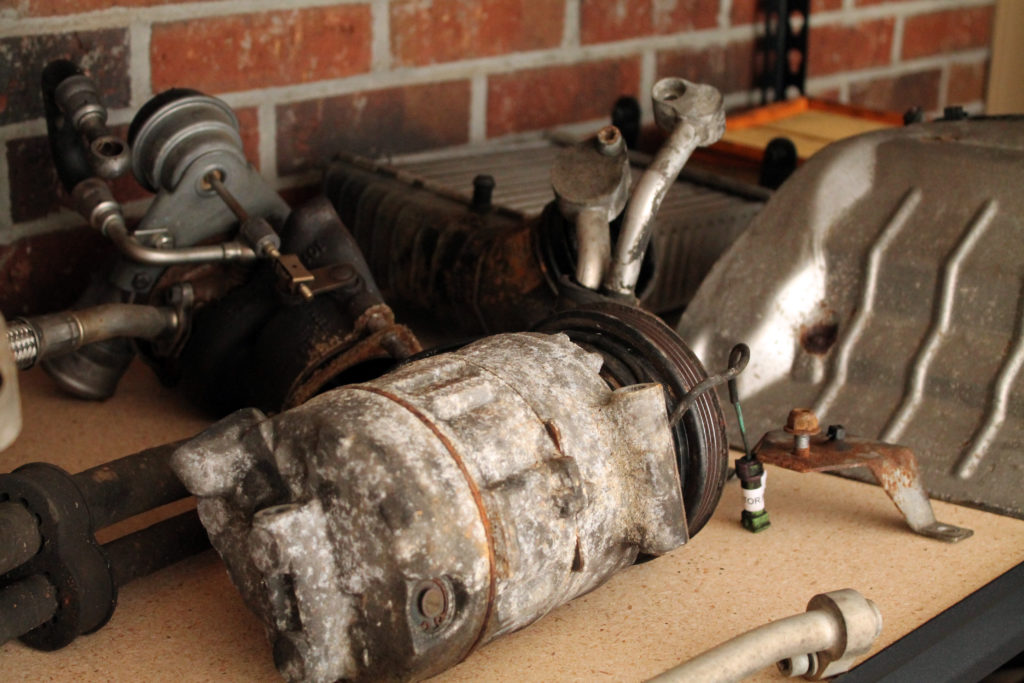
To make removing the engine assembly easier I began by removing everything attached to the engine externally beginning with the most difficult components first. Which meant removing the Turbo, Exhaust Manifold and Catalytic Converter. The AC Compressor was removed to allow access to the turbo as well as the associated air, coolant and oil lines.
Removing the Catalytic Converter was by far the most challenging component to remove because of the location and limited space of the lower flange that attaches the converter.
1.8t Engine Removal Part 2


All of the engine accessories, accessory mounts and components have been removed. Besides the Turbo and Catalytic converter being the most difficult components to remove surprisingly, the Alternator and Mechanical Fan were a lot of trouble.


For whatever reason, the alternator battery cable nut would not break loose. It was frozen to the terminal stud, so I had to end up cutting the nut off. The mechanical fan was a pain in the ass also. It should have been the most straightforward component to remove. It only had one bolt holding it on to the back side of the engine accessories mounting support. But as you turned the nut, the whole fan assembly turned as well. So finding a way to keep it from spinning was a challenge, and to make matters worse, the bolt was frozen. After struggling with it for a while and referencing the repair manual, which was incorrect, it is not a left-hand thread bolt it finally broke loose.
1.8t Engine Removal Part 3


After hours of struggling with one bolt, the engine is out. I’m not sure what Volkswagen thought when they decided to put an allen-head bolt on the back side of the engine with the smallest space possible to work with and then decided to add a nut to it.
Not to mention the lower bolts which were almost just as difficult to remove, because of the limited space between the cross member and transmission. Nevertheless, I’m excited that the engine is out so I can get started scrubbing down and detailing the engine bay.
1.8t Engine Disassembly Part 1
The engine is out and broken down, and it looks like what it looks like – a disaster. Man, I do not know who or what or whatever was put into this engine, but my best guess is that someone added stopleak.
As you can see from the pics the cooling and oil system have seen better days – and this is why you never add any quick fix alternative additives, because it will eventually destroy your engine costing you thousands of dollars more in repairs.


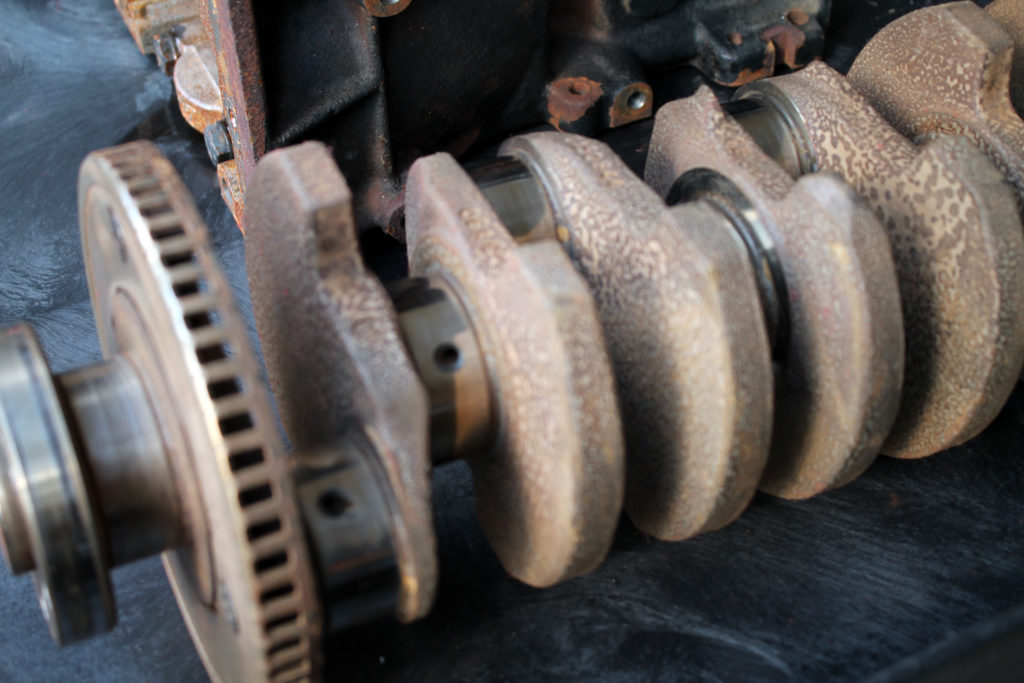


But luckily it’s not a total loss, and the damages are minimal. Visually and mechanically everything seems to be normal engine wear and there is not as much sludge as I thought it would be.
1.8t Engine Disassembly Part 2
Good News – Bad News


The good news is that after hours of cleaning and some more hours of cleaning I finally got the cylinder head and engine block cleaned – and it turned out great.
The bad news is the cylinder heads cracked. Super bummer! After looking at the area where it cracked, which is at the number 3 cylinder, it makes sense. Since that is the area where the highest blockage was in the coolant passage and probably where the engine experienced the hottest overheat condition.


K03 Turbo Rebuild
The turbo has been sitting on a shelf for a while since I am in the middle of rebuilding the engine. So I decided to take it apart to clean and inspect it while I’m waiting for some other parts for the lower block assembly.
Disassembly was relatively easy. The only difficult part was removing the exhaust flange bolts which were in a super tight space and have probably never been removed, so Murphy’s Law was in full effect, and they were probably going to be stuck.

After fighting with one bolt, I was able to separate the compressor assembly and immediately discovered that the turbine propeller was damaged. Luckily it was on the exhaust side, so none of the metal went into the intake system and engine.
Thankfully, for eBay and the tons of K03 turbo parts available I was able to find a replacement part easily – and reasonably priced for around $50 as well as a rebuild kit on Amazon for about 30 dollars.
While I was waiting for the replacement part and rebuild kit to arrive, I had plenty of time to clean all of the other components.

The new parts arrived within a few days, so I was able to take a short break and have some fun putting it all back together.


As you can see the old propeller was a little chewed up.


This turbo was probably the easiest rebuild project so far. The rebuild kit was simple and only had a few pieces – new hardware, a couple of clips, two bushings, the oil locator – bushing washer and clip, oil ring, and that was it. Super simple.


K03 Turbo – Final assembly.
Engine Installation

The new cylinder head is installed, and the engine is finally making its way back into the engine bay. Unfortunately, I did not take any pictures of the assembly process. It took quite a bit of time, a lot of trial and error fighting with the valve keepers to get them installed.
In my state of frustration, I just wanted to assemble it as quickly, and as efficiently as possible, so I could get it back onto the engine block and finish up installing the rest of the components.
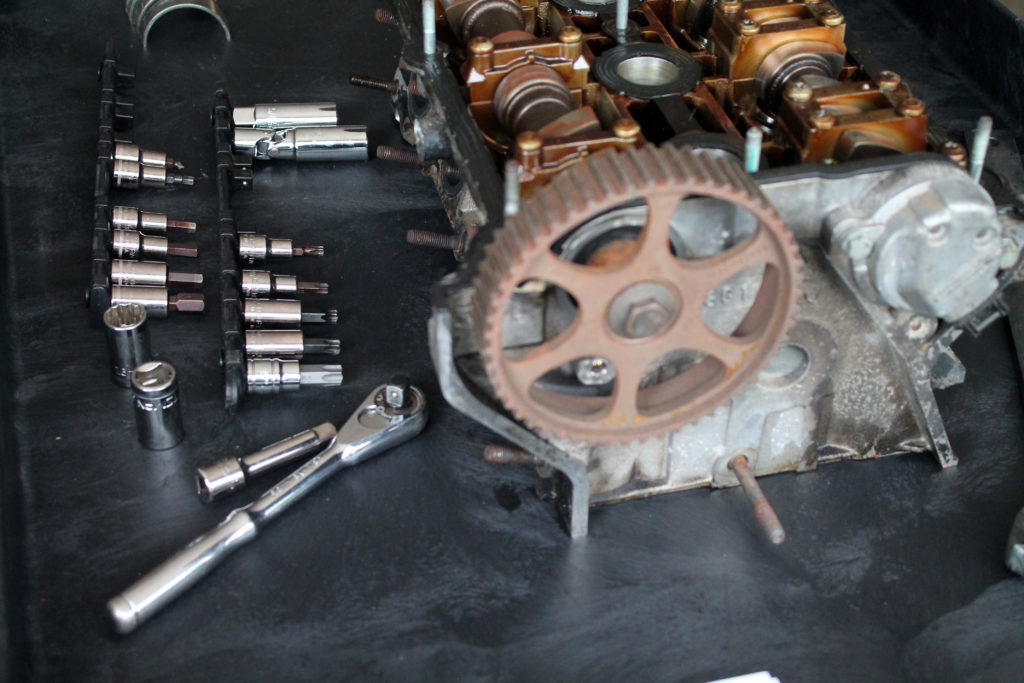
Timing the cams was straight forward, but installing the timing belt, on the other hand, took a few adjustments before I could get it correctly timed.


I was hoping to replace as few of the major components as possible so that I could save as much time and money as possible, but the overheating was more severe than I initially thought. I ended up purchasing a bare cylinder head assembly to replace the original cracked one.
The valves and cams were cleaned and polished. I replaced the cam adjuster and timing belt tensioner along with all the seals, gaskets, timing belt, and tensioner pulley.


Once the cylinder head was complete, the rest of the external engine assembly was the reverse of removal – except much cleaner.


All of the accessory components were also replaced:
- Starter
- Alternator
- Air Conditioning Compressor
- Power Steering Pump
I hoped to rebuild all of the accessory components, but finding rebuild kits and replacement parts were not as easy as I thought. It could be that they are not as readily available for this particular vehicle, or perhaps I did not look hard enough.
To save some time, I opted to simply just replace them. Hopefully, during my downtime, I can research more options to rebuild them so that I can use them at a later time on another project down the road.

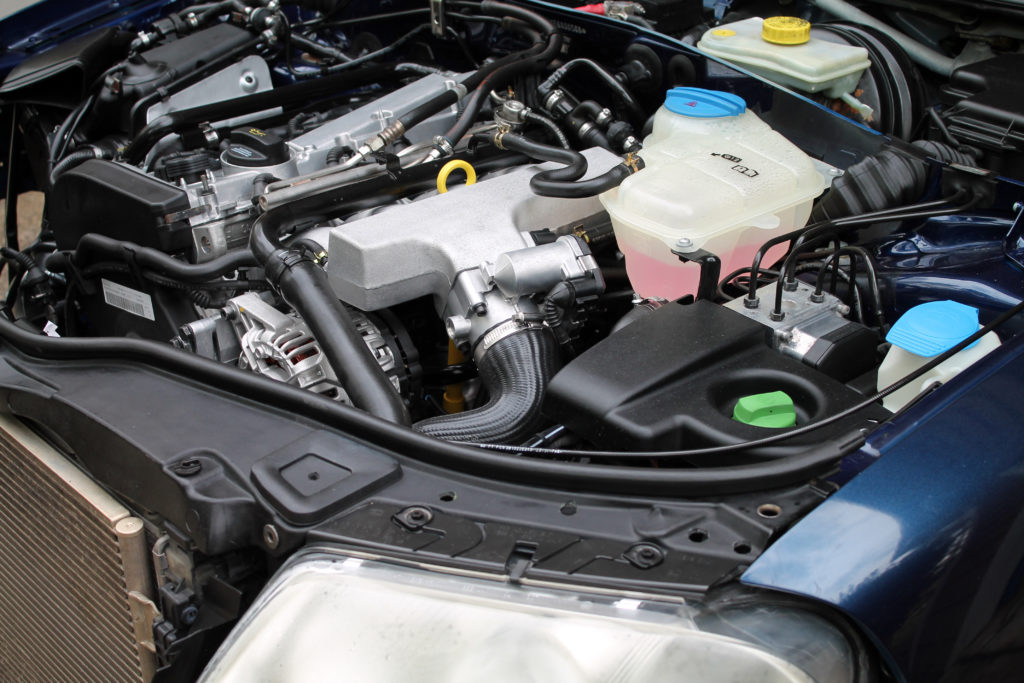
The cooling system has been completely refreshed and flushed. I installed a new expansion tank and cap, water pump, and thermostat.


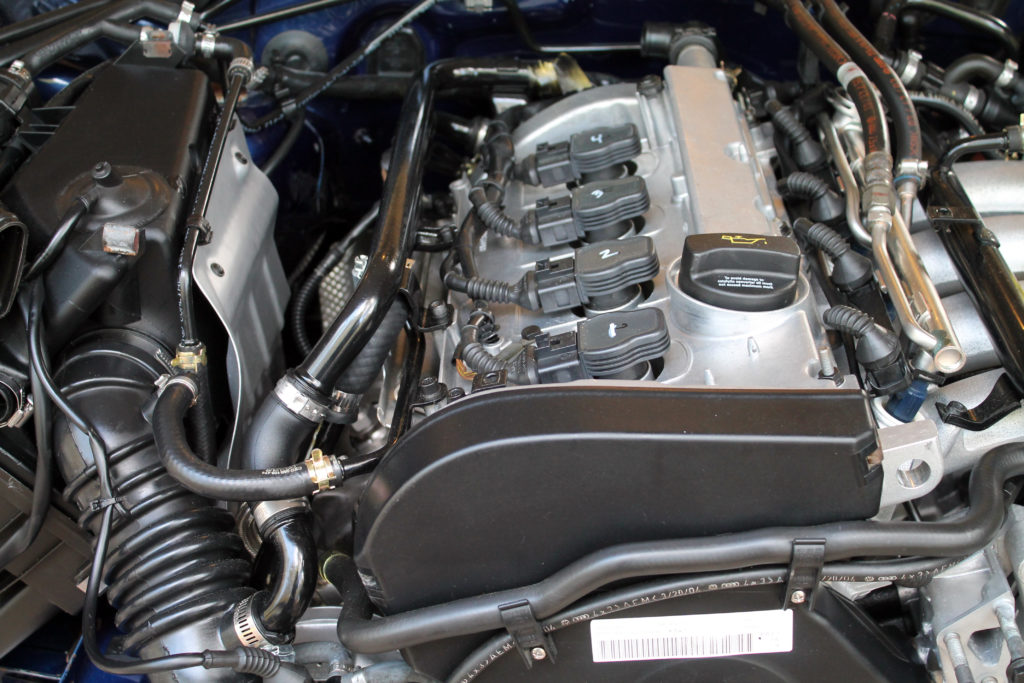
All in all, the rebuild was a great experience, and now I have a fresh, almost entirely new top and bottom end engine as well as the cooling and oil system. Which I hope will operate trouble free for the next 200 thousand miles. But first and more importantly is it going to run.
First Start Up

I am stoked to say that the engine fired up on the first key turn. I made sure to clear all the engine faults before startup as well as to adapt the throttle and prime the fuel and oil system.
However, the engine was not 100% complete before startup. I am still waiting for a couple of parts. Both Secondary Air pump pipes are broke, and the PCV valve is full of gunk, so I decided to leave them off and order new ones.
The engine was a little noisy since the Sec Air pump it was not fully hooked up. The AC compressor belt tensioner had some grit inside the bearing from blasting, so I either need to clean it more or replace it.
I wish I could say that it had zero leaks, but it is still leaking from the rear cooling flange on the cylinder head, which is where it was leaking before I pulled the engine. I tried tightening the two bolts connecting the cooling pipe, but that just made it worse.
So I’m thinking there has to be something going on with the flange maybe it’s warped slightly from overheating. The cooling line from the turbo was also leaking at the block, but that is a minor fix.


I let the engine idle at operating temperature for about 15 to 20 minutes to check for any other cooling issues and still the auxiliary cooling fan is not kicking on. It could be that the system is not pressurizing which is not allowing the thermostat to open properly causing poor circulation because of the cooling leaks, so I need to sort those issues out first and continue to troubleshoot.